Ever found yourself needing a clean macOS installation or wanting to upgrade multiple Macs without downloading the OS repeatedly? Creating an external bootable drive for macOS Tahoe is your answer. Apple launched macOS Tahoe on August 15, 2025, with its public Beta becoming available in mid-July, according to EaseUS. This latest iteration brings some impressive new features that make the upgrade effort worthwhile, especially when you are dealing with beta software where having a reliable installer becomes even more critical.
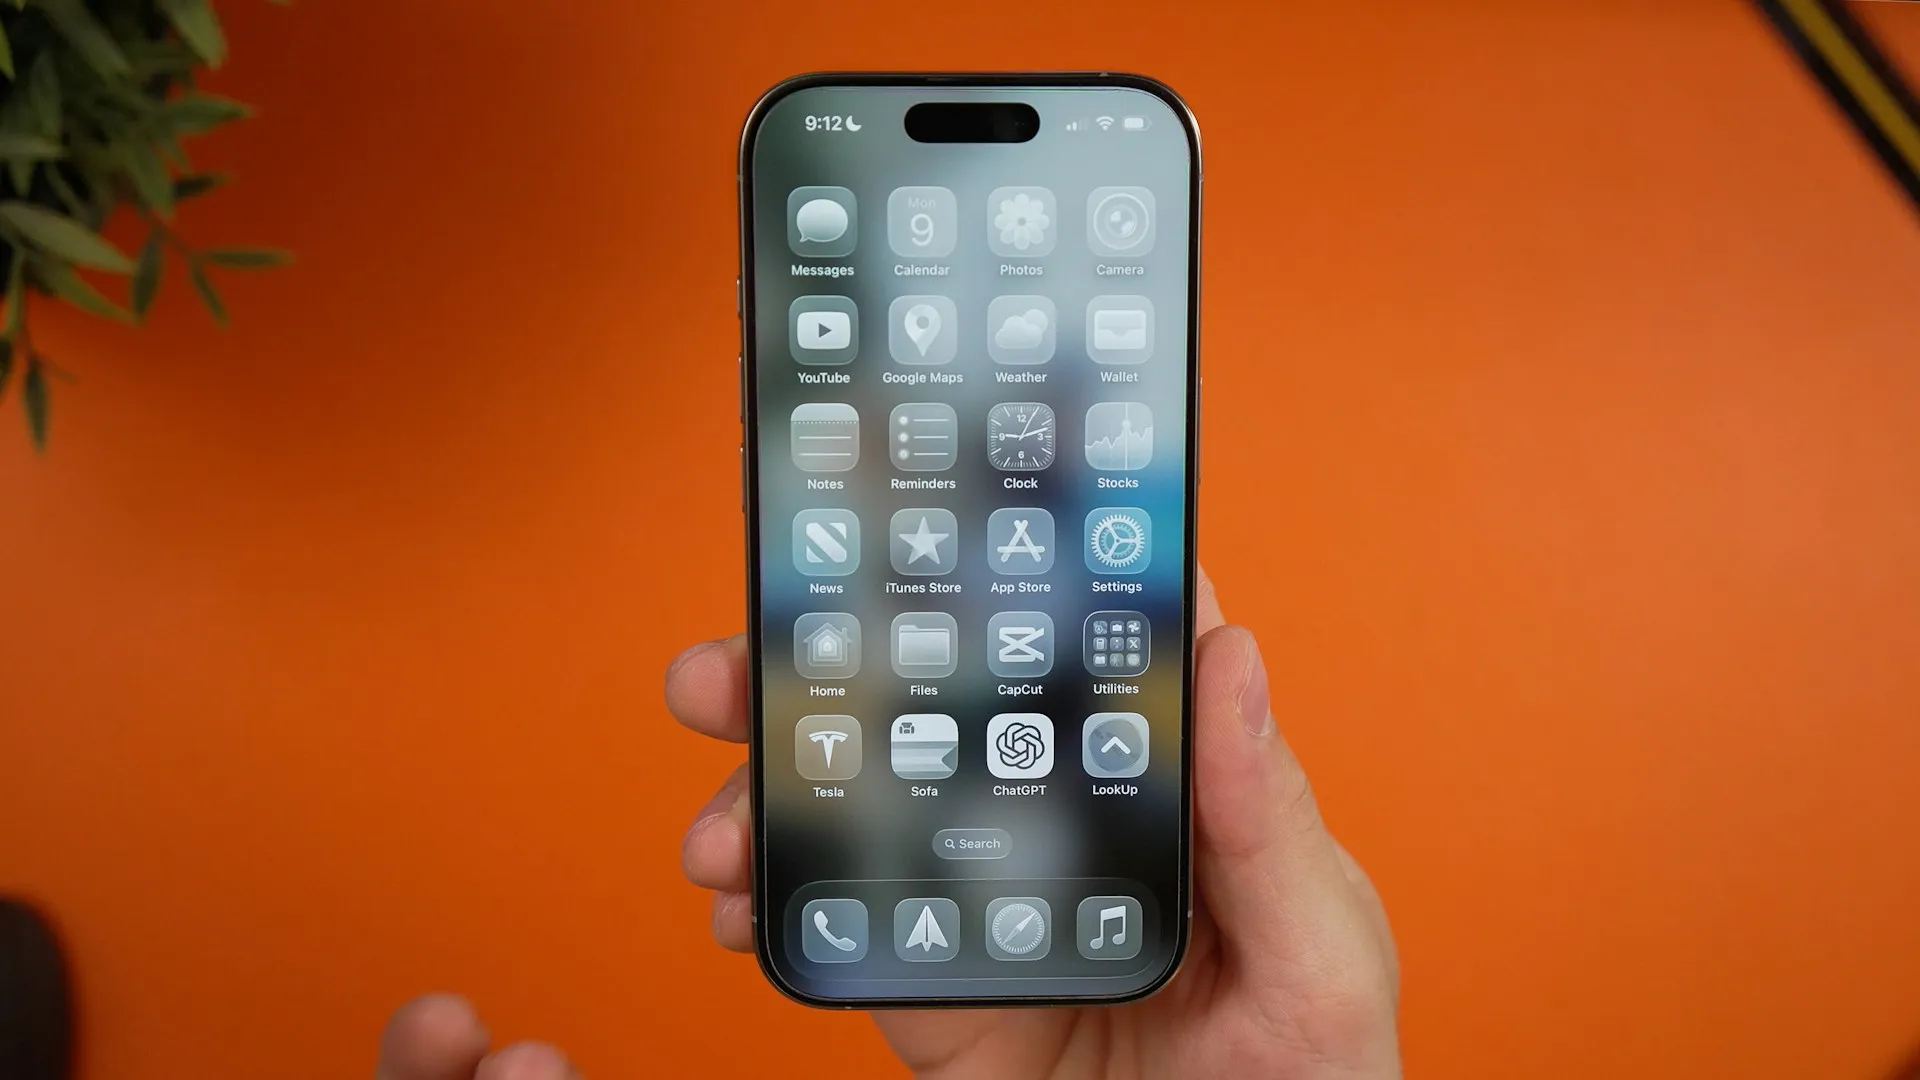
The new Liquid interface changes how you interact with your Mac, while Phone apps for Mac bridge the gap between your devices in fresh ways. Apple has also updated the Games app, Spotlight, and Passwords, all wrapped in the striking new Liquid Glass design, as reported by EaseUS. Beta life can be messy. An external installer lets you clean install, test on different machines, or recover fast when something breaks.
Here is the thing though, not all Mac devices can successfully run macOS 26, according to EaseUS. If your machine makes the cut, this guide walks you through creating a reliable external bootable drive so you can try Apple’s newest operating system without repeat downloads or extra drama.
What you’ll need before getting started
You will need a USB flash drive with a minimum of 32 GB of available storage space, as noted by iDownloadBlog. Some sources suggest you can get away with 20 GB since the Tahoe installer weighs in at approximately 14 to 14.5 GB, according to Mr. Macintosh. I would still go with 32 GB for breathing room and better write speeds.
PRO TIP: Drive speed matters. The createinstallmedia process moves a lot of data, so a USB 3.0 drive saves real time compared to older USB 2.0 sticks.
Your Mac needs to meet specific compatibility requirements. Compatible devices include MacBook Pro with Apple silicon, 2020 and later, MacBook Air with Apple silicon, 2020 and later, MacBook Pro, 2020, 2019, iMac, 2020 and later, Mac mini, 2020 and later, Mac Studio, 2022 and later, and Mac Pro, 2019 and later, as detailed by EaseUS. Not sure about your model? Click the Apple logo in the top left and select About This Mac, according to EaseUS.
You will also need a Mac running macOS Mojave or later to complete the process, as specified by EliteMacx86. A little Terminal comfort helps too. You should be fine typing commands, entering a password that does not show characters, and recognizing when a process is working versus done.
Getting the macOS Tahoe installer
First, grab the macOS Tahoe installer. Apple released the first developer beta on June 9, 2025, according to iDownloadBlog, and you can download the 16.5 GB installer using Apple’s official link, as noted by iDownloadBlog.
The download retrieves an Apple package called InstallAssistant.pkg, according to Mr. Macintosh. That package points directly to Apple’s software update server, as explained by Mr. Macintosh. Result, you get the latest installer, not a stale copy.
Install the package and the full installer app appears in your Applications folder, according to a YouTube tutorial. No special settings, just click Install when prompted, as advised by iDownloadBlog. The app is named Install macOS Tahoe.app and it must live in Applications for the bootable drive creation to work, according to EliteMacx86.
Preparing your USB drive
Connect your USB drive and open Disk Utility from Applications, Utilities, as instructed by iDownloadBlog. Click View, choose Show All Devices, so you can select the whole drive, not just a partition, according to EliteMacx86.
Select the USB drive in the sidebar, click Erase, then name it, for example USB, set Format to Mac OS Extended, Journaled, and Scheme to GUID Partition Map, according to EliteMacx86.
Why Mac OS Extended and not APFS? Wider boot compatibility across supported Macs, as emphasized by EliteMacx86. GUID Partition Map is required for proper booting on Intel and Apple silicon Macs, according to Mr. Macintosh. When the erase completes, click Done and quit Disk Utility, as instructed by EliteMacx86.
Creating the bootable installer with Terminal
Open Terminal from Applications, Utilities, or via Spotlight, as recommended by EliteMacx86. You will use Apple’s createinstallmedia command.
Run this command: sudo /Applications/Install\ macOS\ Tahoe.app/Contents/Resources/createinstallmedia --volume /Volumes/MyVolume, according to Apple Support. Replace MyVolume with the name of your USB drive. If you named it USB, use: sudo /Applications/Install\ macOS\ Tahoe.app/Contents/Resources/createinstallmedia --volume /Volumes/USB.
Enter your admin password when prompted, as noted by iDownloadBlog. You will not see characters as you type. Confirm the erase with Y to continue, according to iDownloadBlog. Terminal will show progress as it erases the USB, copies files, and creates the installer, as explained by OSXDaily.
Understanding the creation process
The process usually takes 5 to 10 minutes, depending on your USB drive’s speed, according to Mr. Macintosh. You will see stages in Terminal, erase and reformat, copy the recovery system, copy the main files, configure the boot loader, verify signatures. Short story, it ends with a fully bootable installer.
If you are on macOS Big Sur or later, Terminal may request extra access permissions, as noted by EliteMacx86. Click OK to allow disk operations, according to EliteMacx86.
The createinstallmedia script for Tahoe is at /Applications/Install macOS Tahoe Beta.app/Contents/Resources/createinstallmedia, according to Mr. Macintosh. The utility is supported on OS X Mavericks and newer, as specified by EliteMacx86.
When it finishes, your USB flash drive is renamed to Install macOS 26 beta, according to EliteMacx86. That rename signals the drive is ready. Quit Terminal and you are set with a macOS Tahoe 26 installer usable on multiple compatible Macs, as confirmed by iDownloadBlog.
Booting from your new installer drive
Boot steps vary by Mac architecture. On Apple silicon Macs, M1 through M4, shut down, then hold the power button until Startup Options appears, according to Mr. Macintosh. Choose Install macOS Tahoe to start, as detailed by OSXDaily.
On Intel Macs from 2019 to 2020 with T2 chips, first boot to internal recovery with Command plus R. In Startup Security Utility, enable Allow booting from external media, according to Mr. Macintosh. Restart with the USB connected, hold Option, then pick your Tahoe installer, as explained by OSXDaily.
On older Intel Macs from 2016 to 2017, shut down, power on while holding Option to see the boot picker, according to Mr. Macintosh. Keep an internet connection active during installation so your Mac can talk to Apple’s authentication servers, as noted by iDownloadBlog.
Your bootable drive is ready to go
You now have a USB drive with a complete macOS Tahoe 26 installer that works across multiple compatible Macs, according to iDownloadBlog. Use it for clean installs, to upgrade several Macs without redownloading, or to keep a trusted recovery option within reach, as explained by OSXDaily. Honestly, once you have one, you will wonder why you waited.
PRO TIP: Label the drive with the creation date and beta version number. When Apple releases updated betas, you will want to know exactly which one you have.
The steps here, download the installer, reformat a USB drive, run the Terminal command, give you a dependable way to create macOS 26 Tahoe Beta bootable USB installers, according to iBoysoft. It uses Apple’s own tools, so the installer retains the right signatures and boot structure.
Keep the drive somewhere safe. Whether you are setting up a new machine, troubleshooting, or just itching to try the Liquid Glass look and the refreshed features, your external installer puts Tahoe within easy reach. Best of all, you can reuse it for multiple installations without recreating it each time, which makes it a handy companion for beta testing and day to day fixes alike.














Comments
Be the first, drop a comment!